To livestream or not to livestream, that is the question!
I decided, especially in the first week of trying to be church online, that I wasn’t going to livestream (that is broadcast live on Facebook or YouTube) my Sunday service. I decided this for a variety of reasons including: I am on my own in my parish, I don’t have a big team to help me; anyone who could help me are mostly over 70 so I didn’t want them to come out of the house; livestreaming is unfamiliar to most people; things can go wrong on a livestream; it’s hard to combine live recording with subtitles or the words for people to follow.
So I decided, and I think I will continue in this vein, to do a 10 minute ‘notices’ to the parishes as a livestream on Facebook at 10am on Sunday mornings and then I will encourage people to visit our church website for the main Sunday service which is a preprepared video.
So how did I do the video?
I created a PowerPoint presentation of the whole service that included all the liturgy and responses (text in yellow for responses). I then used the free online tool (no download needed) Screencast-o-Matic to record myself as I went through the PowerPoint. Screencast-o-Matic makes a live recording of what is happening on your computer screen. There is the option to appear in the corner of the screen or for just the screen to show. I recorded my service in chunks, sometimes being visible, sometimes not. I saved each individual video and then put them all together into one using Windows Movie Maker (if you have a Mac you could do the same with iMovie).
If you think you’d like to try the same thing, have a little play with the tool first, you can record and then delete a file quite easily.
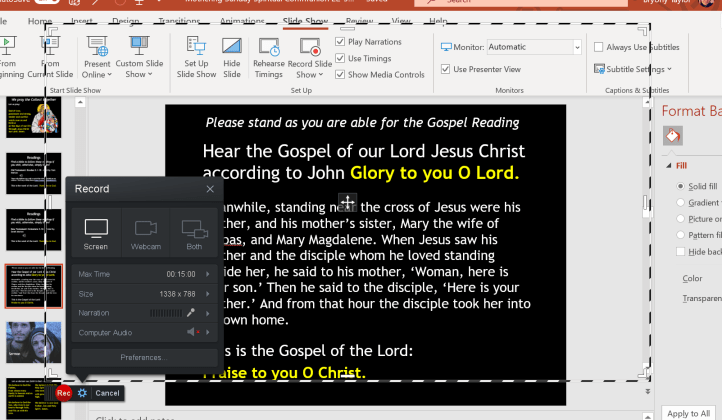
To start, visit https://screencast-o-matic.com/ and then click on the blue button ‘start recording for free’. Then click ‘open screen recorder’ when it pops up. Then a box with a dotted ouline will appear on screen like this. The recorder will record everything that appears in that box – you can resize it to cover the area you want.
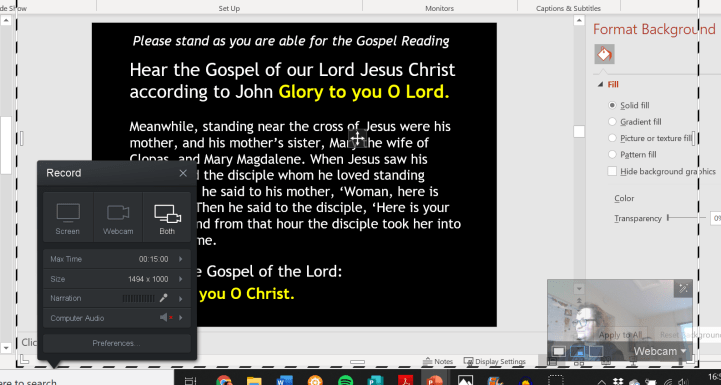
Choose screen, webcam or both to record – if you choose both it will record what is on the screen plus a video of you using your webcam that will appear in the bottom right like this:
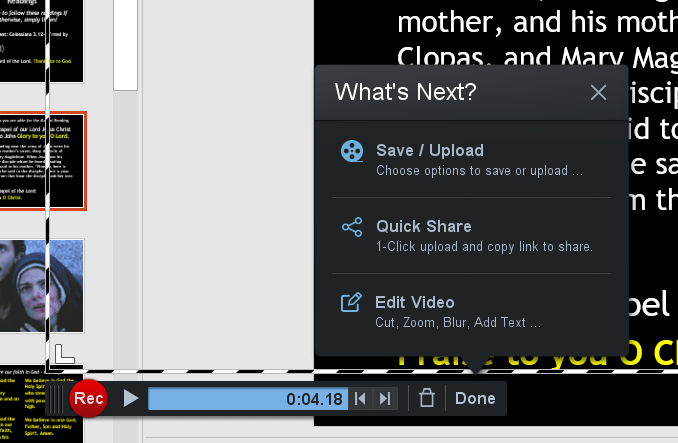
When you’re ready, click on the red record button and start recording your voice and click through your slides as if giving a presentation. If you are using a laptop/pc it’s a good idea to use a usb microphone as the built-in microphone is not great quality. You can press pause at any time and then continue recording. When you’re finished click on ‘done’ and then choose the ‘save’ option to save the Mp4 file to your computer:
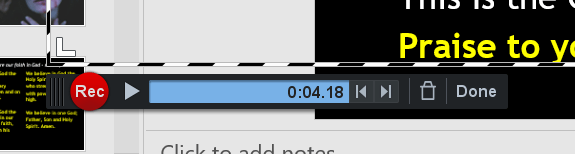
If you don’t want the recording, click on the bin icon and start again.
Here’s the finished article I made for Mothering Sunday, I uploaded the final product to vimeo (the video was too long for YouTube):
There may be a simpler way to create online worship but now I’ve done it once I think I will get a bit quicker at it. The only special equipment I already had was my headphones and microphone (along with my laptop). If you use Screencast-o-Matic the free version it will put a small watermark in the bottom right of the screen. Not a big price to pay in my opinion!
